


Hardwiring a dash cam to your fuse box is a common installation method. This blog gives you easy to follow instructions to hardwire your dash cam. Learn more about how to get your dash camera set up with a hardwire kit.
What does hardwiring a dash cam mean?
Hardwiring is a common method of installation among dash cam users all over the world. A hardwire kit eliminates the need to have your dash camera plugged into your car’s 12v socket. Hardwiring kits can be installed by connecting your dash camera directly into your fuse box, providing it with a constant flow of power without the ignition needing to be switched on.
What are the benefits of hardwiring my dash camera into my vehicle?
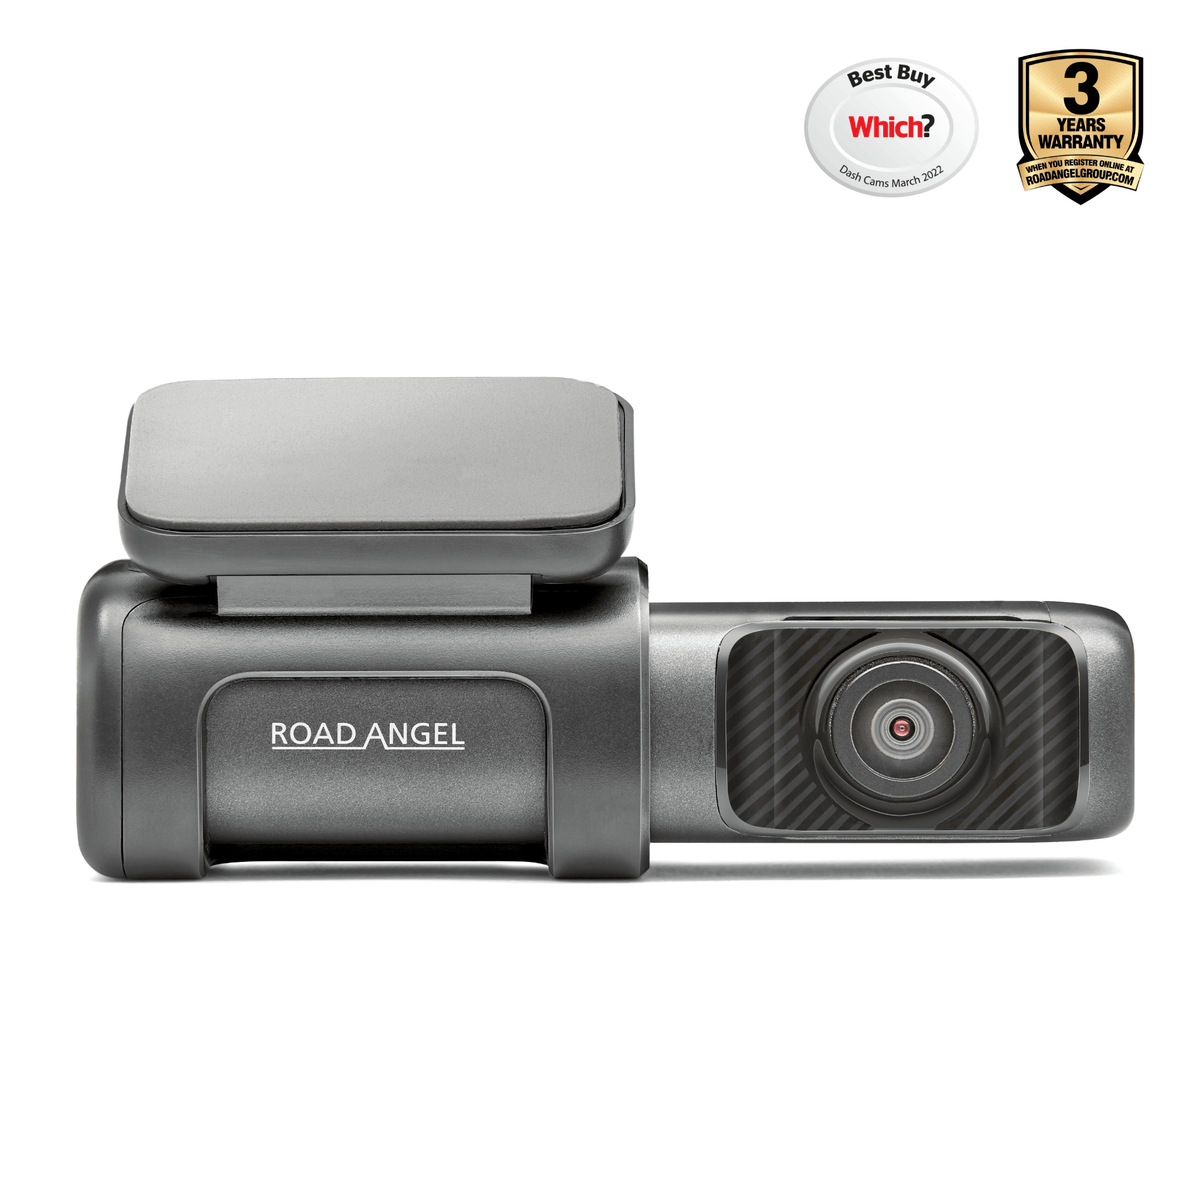
A hardwire kit is not essential to use with a dash cam, however it is preferred by many motorists due to the neat cable management when hardwired correctly. A hardwire kit can also provide additional features (depending on the dash cam specifications). For example, a Road Angel dash camera that has been hardwired will allow additional features to be accessed including Parking Mode and Winter Mode.
Steps for hardwiring a dash camera
- Locate your car's fuse box, this is often inside the car or in the engine bay. Carefully remove the cover to reveal the fuse sockets.
- By following your vehicle’s manual, you will need to locate the correct fuse slot that will give enough power for the dash cam. Some fuse slots are designed to only deliver power when the vehicles ignition is turned on.
- Usually, hardwire kits include 3 wires (constant fuse, ignition-controlled fuse and ground) that will need to be connected to the fuse box. You will need to determine which of the cables is for which purpose (you can probably find this on the paperwork with the hardwire kit).
- The constant fuse will allow the device to receive a constant flow of power so that it can operate without the ignition being switched on.
- The ignition-controlled fuse will only provide power when the ignition is switched on. The two cables providing power will need to be matched to fuse slots that are either ignition dependent or not (e.g constant power cable will need to be connected to a fuse slot that delivers power when the ignition is switched off).
- The metal ground will need to be attached to a metal bolt or screw within the vehicle. This is achieved by loosening the bolt/screw, sliding the connector underneath the bolt and tightening again.